"PiranhaShark 2.0"
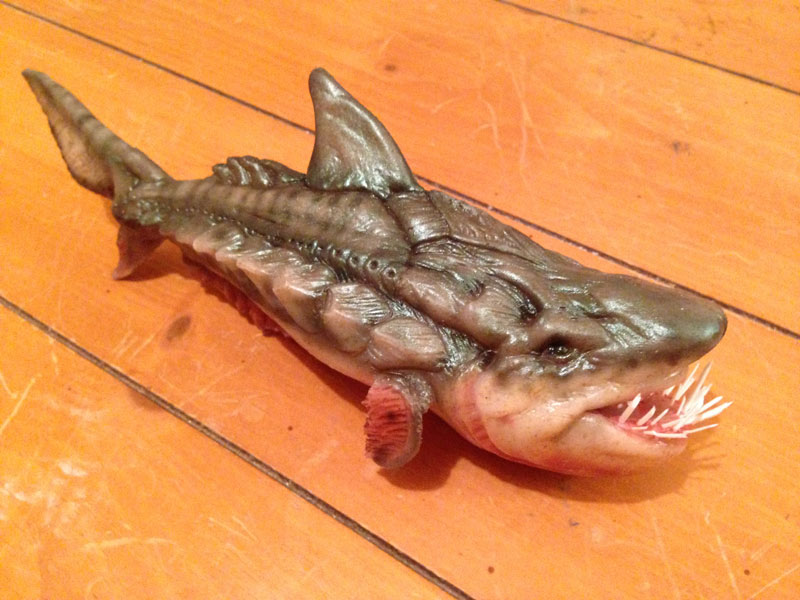
I was given a physical prop to recreate as a digital asset for a fun independent horror/comedy called PiranhaSharks.
Here's the steps I took to recreate the prop in 3D and output some swim cycles that could be handed off to another animator. This was a learning experience for me, never tried this workflow before. So thought i'd write down my process. I was granted some creative liberty, but I tried to match the prop as much as possible so it would not clash between shots. The ultimate output was to Video Copilots for Elements. So it was a challenge to model something that would work within those limits. |

Physical prop provided for reference.
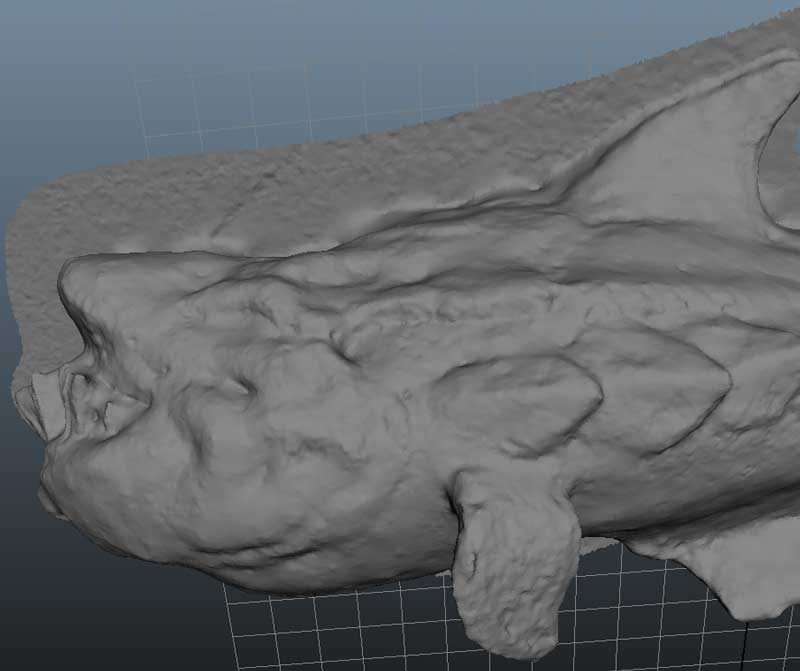
Using 123D Catch, I made this digital scan.

Here is the incredibly messy/dense model generated. I've done a few since and definitely takes some practice.
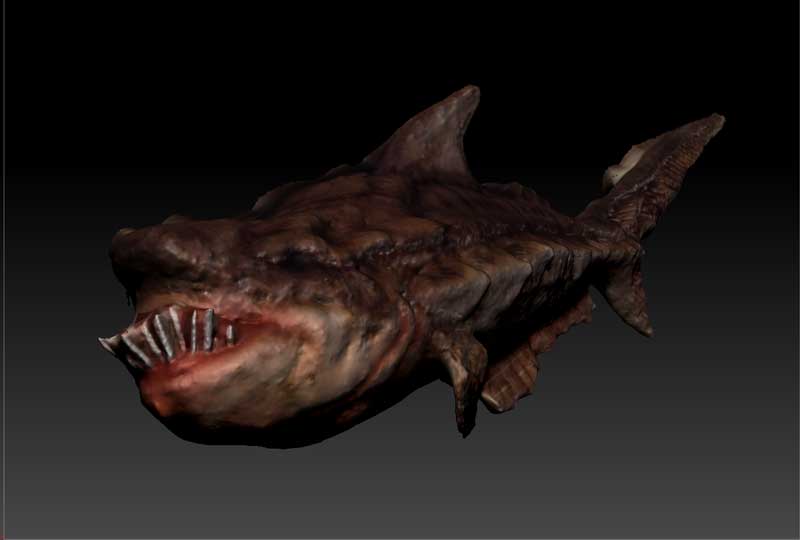
With a little extra work I applied the provided textures in Maya and ZBrush.

I then did a retopo with ZRemesher to get a workable lo-res mesh that I then subdivided and re-projected the original scan back on to maintain the fine details and textures. I then cut it in half and mirrored it for symmetry.
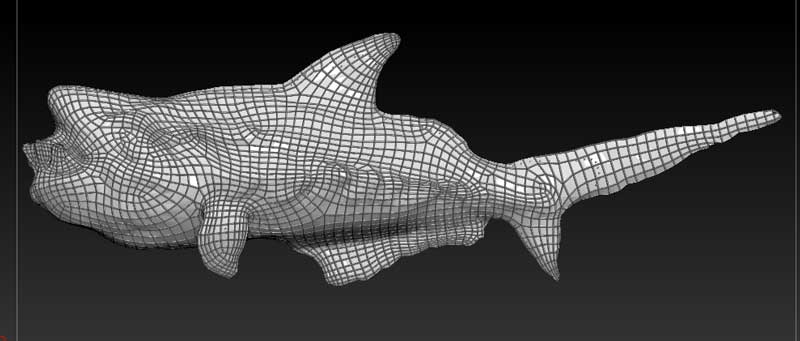

Next was to sculpt back the fine details. At this point having a detailed scan and texture was very helpful. Eliminating most experimentation and guess work.

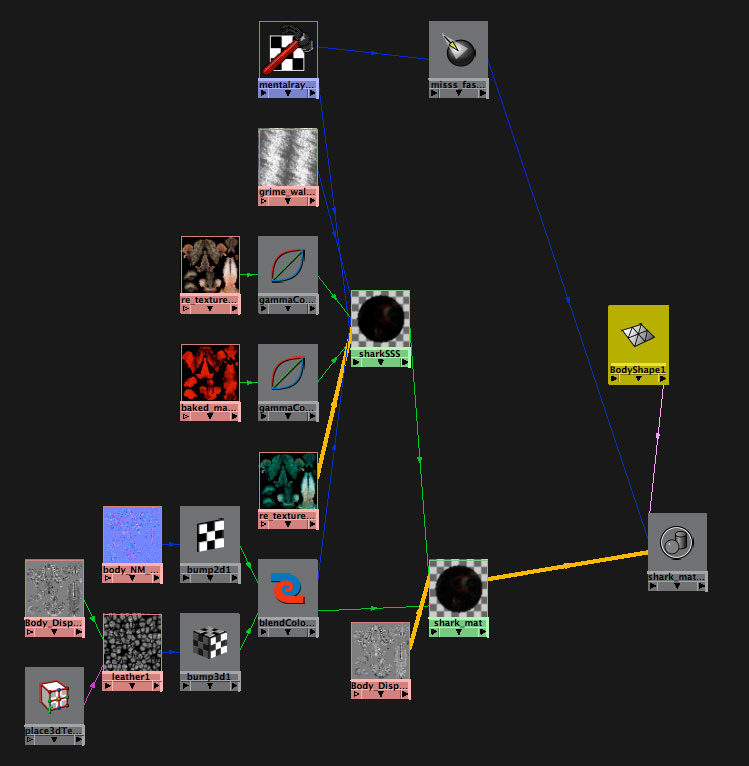
After a final and somewhat manual retopology and UV process. Then the maps and base mesh were exported to Maya. Here shading and additional texturing were done. Though most of the texturing was preserved from the capture, I manually repainted in the detail from hi-res stills. Quite easy since I had a captured source to paint over. Also mattes for some procedural noise and glossiness weight.

The shader was an SSS material combined with a MIA material to get that fleshy yet wet and shiny look of the rubber prop. Fairly simple setup, just needed additonal textures for the skin layers, reflection, and bump. I generated a displacement map from ZBrush but didn't feel like it made much difference in this case, it did come in handy as a base for a reflection map. Once I was happy with the look of the skin I light baked out a special texture for Elements so it would get some ambient light. Also had to blend the procedural normals from Maya with the one's exported from ZBrush so that Elements could have the same pebbled skin look.
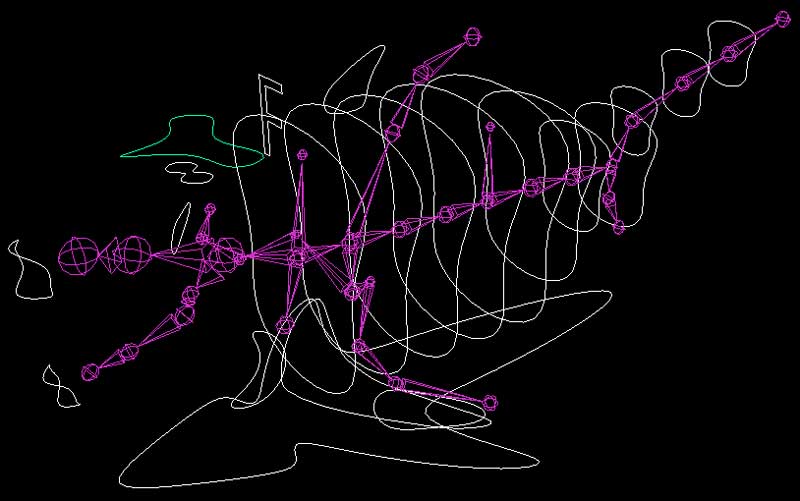
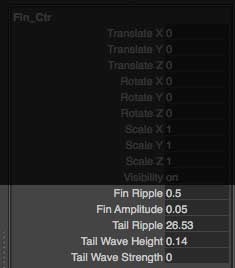
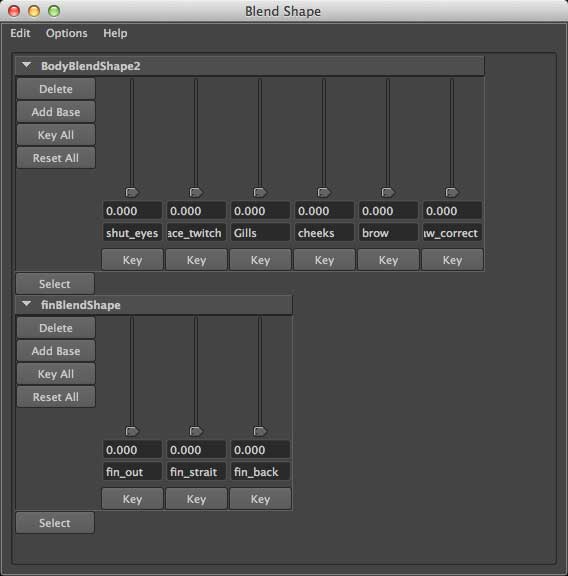
Character has fairly simple movements. But just to be on the safe side I rigged him to have a spline IK controlled by a wave deformer for swimming motion, as well as the ability to blend to a set of posable controls. Originally I used an expression tied to an attribute to control the speed. But I needed exact control over what position the wave was at the end of the frame sequence so it could loop. So instead I elected for just a key frame approach. Also a set of facial controls such as blink and adjustment shapes.
 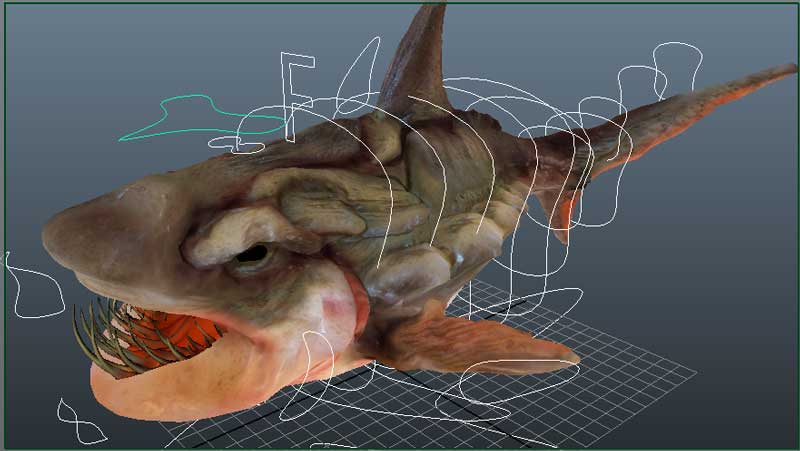
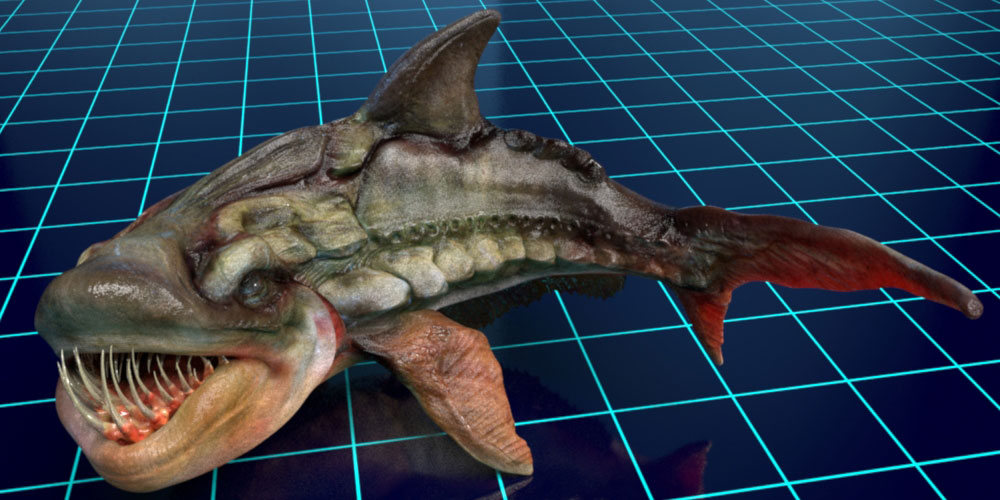
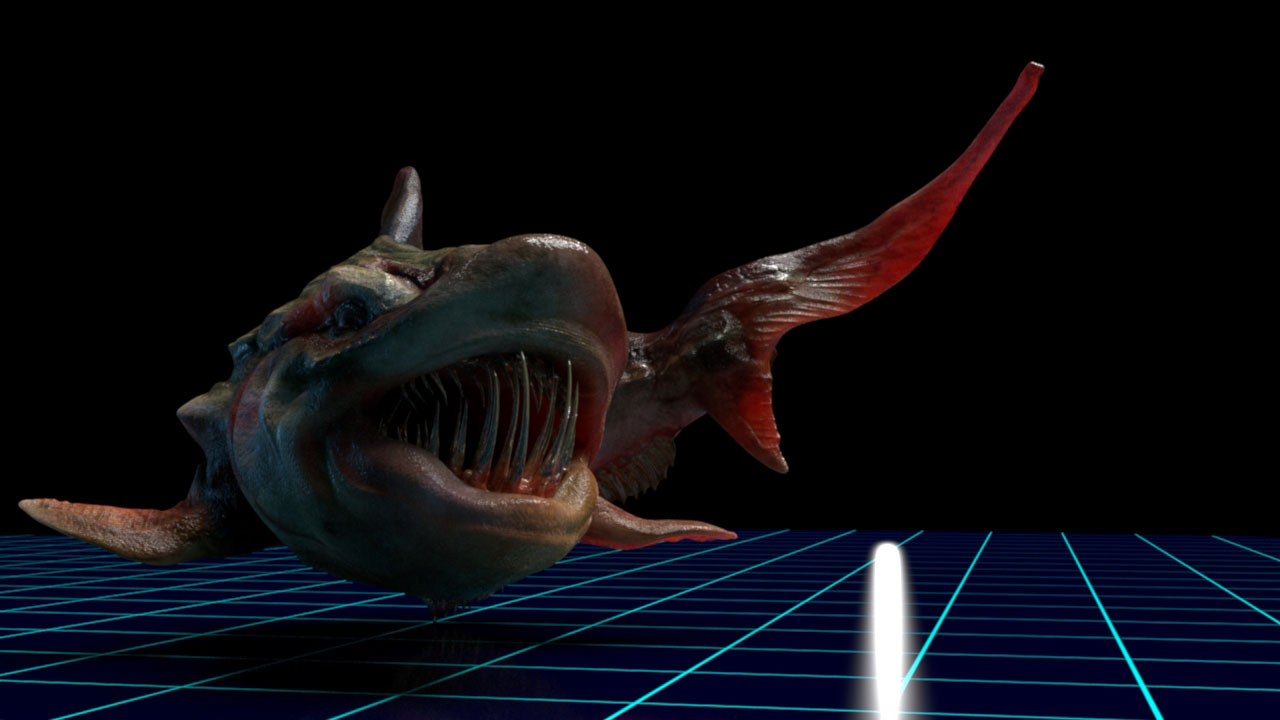
The ultimate goal of this project was to send the character to another animator to use in Video Copilots Elements. When I was happy with the model and animation, I did a variety of looping swim cycles and exported an OBJ sequence to Elements. Here are some video proof of concepts and rig demo.
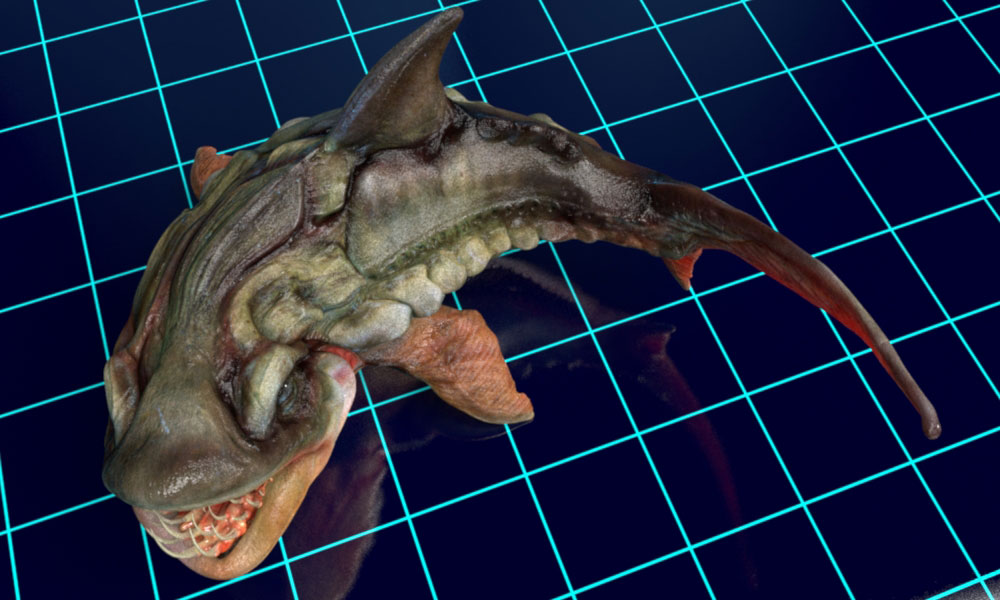
Though the final output was to Elements for After Effects I wanted to generate a few MentalRay stills just in case. So here he is under some studio IBL lighting.

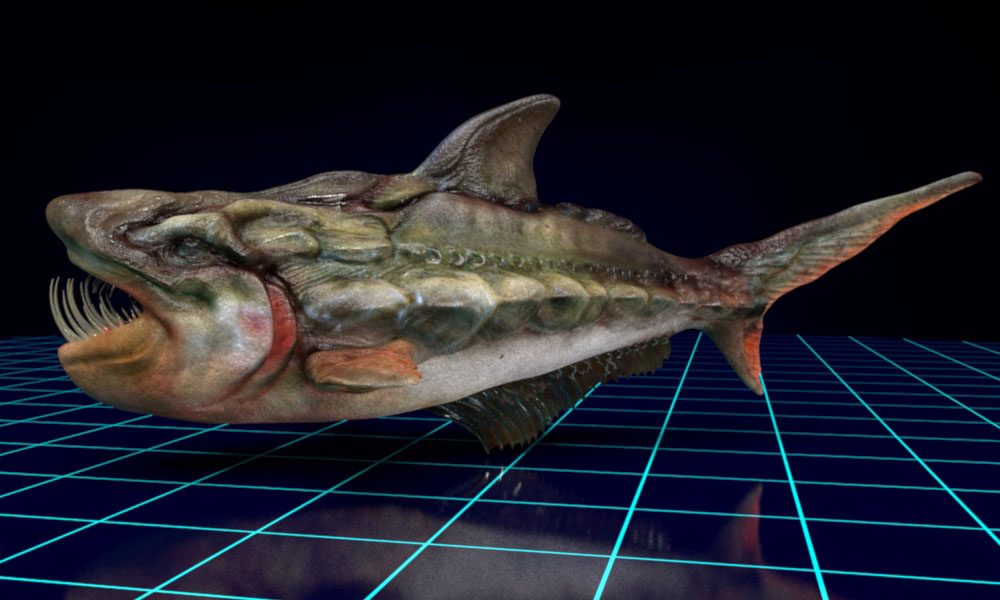
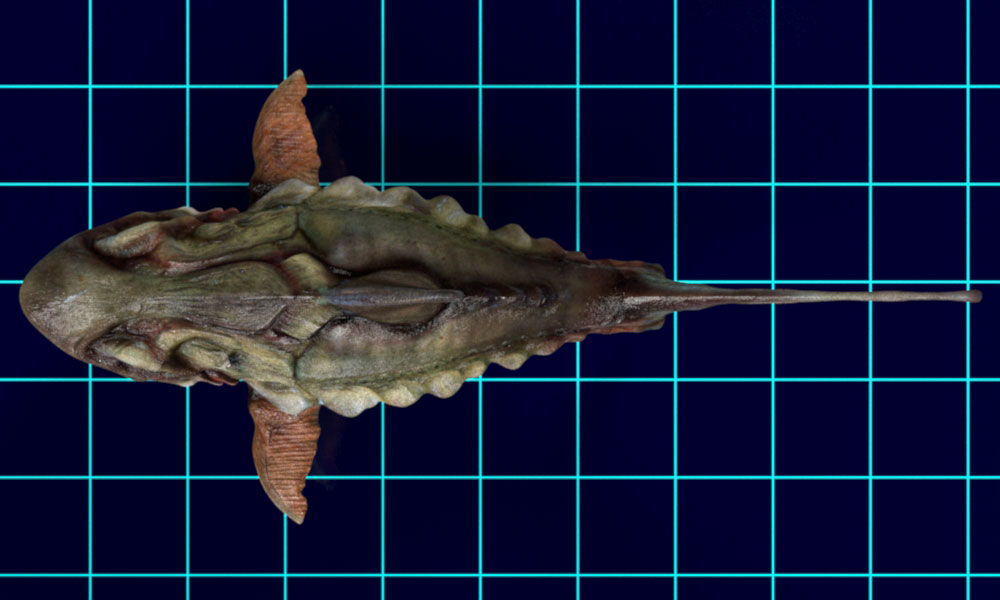
|